Google Maps is a great application that can be used in the classroom for a variety of reasons such as marking the locations of historical events, studying immigration, or learning about geography. In this post, I will show you how to make a collaborative map, one in which each student uses a Google Form to identify a specific location. The Google Form response spreadsheet is then imported into Google Maps and a series of markers, one for each student, is populated on the map.
Let’s look at an example where each student is asked to identify the birthplace of each president. Start by creating a Google Form with questions similar to this:
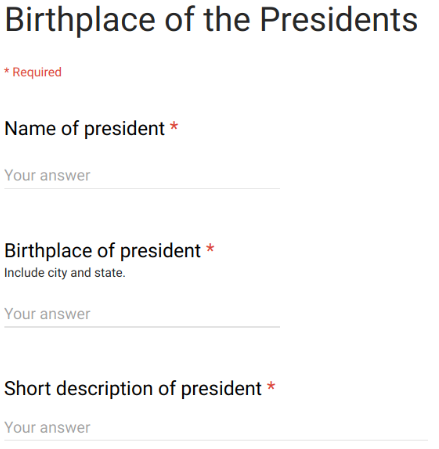
The first question (name of president) will become the title of the map’s marker. The second question will determine the location of the marker on the map and the third question will become the marker’s description. Note, the location can be identified by a specific map location (city, state, street address), by latitude and longitude, or by a description (e.g. Disney World).
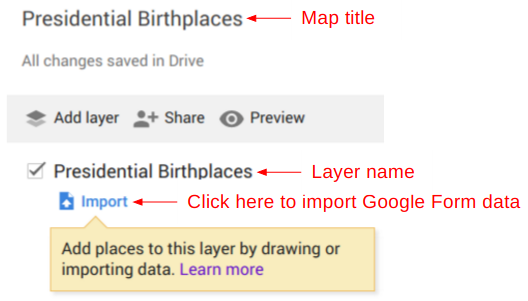
Have each student prepare and fill out the form. Then, from within Google Drive, click ‘NEW’, ‘More’, and select ‘Google My Maps’. This will create a new, editable map. Go ahead and title the map (I titled mine ‘Presidential Birthplaces’) and give the layer a name (I gave my layer the same name as the map title). Next, click ‘Import’, select ‘Google Drive’, and locate the response spreadsheet for the Google Form.
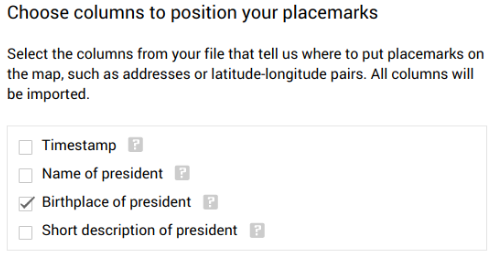
You will be presented with a popup asking you to select the spreadsheet field that will determine the location of the marker on the map. For this example, choose ‘Birthplace of president’:
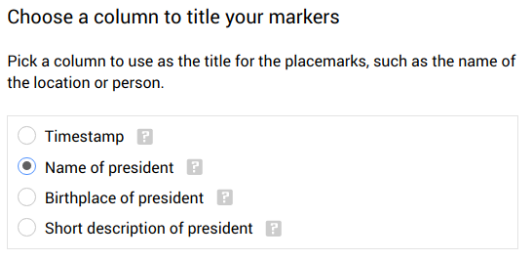
Next, select the title of the marker. In this example, I selected ‘Name of President’:
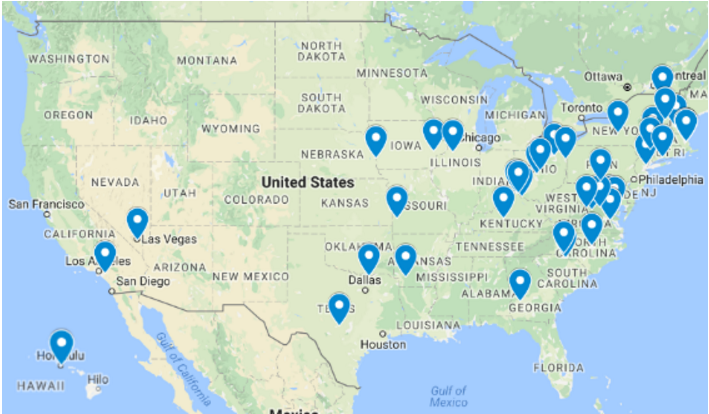
Click finish, and you’ll see all the markers appear on the map:
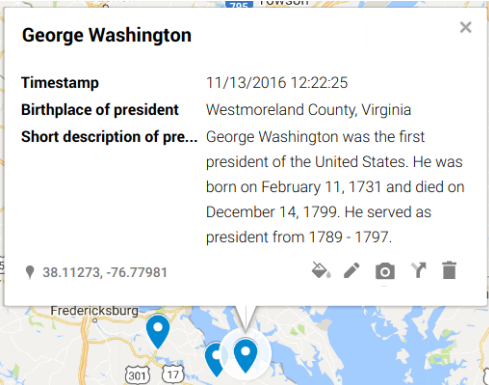
Click on any of the markers and you’ll see additional information, including the description that was filled out on the Google Form:
You can share this map with students in the same way you would share a Google Doc. This means that students can go in and edit their information as well as make other refinements such as adding a photo.
I mentioned layers before. As the name implies, multiple layers can be added as needed and they can be toggled on and off in much the same way you can turn Google Calendars on and off. For this example, you could add a layer representing the place of death for each president, or perhaps something a bit less morbid!
Google Maps can be a great asset for the classroom. Check out this Edutopia article for some additional inspiration.